Nest&Cut automatically adds a label to each section of a nesting (for DXF and PDF outputs) to make the relevant part easier to find.
This might seem like a simple operation, but a few subtle tweaks are required behind the scenes to make sure the solution functions well in most situations.
We recently updated this functionality based on customer comments (please keep them coming, we love to read them!).
How do labels function in the PDF report (workshop sheet)?
Most of the time, companies need this functionality to monitor production as closely as possible. For example, using the PDF file and the part labels, operators can easily organize pallets for each of their customers.
They can also use this part labeling functionality to send customers the PDF report, who will then use it as a quote to verify all the nesting information and performance.
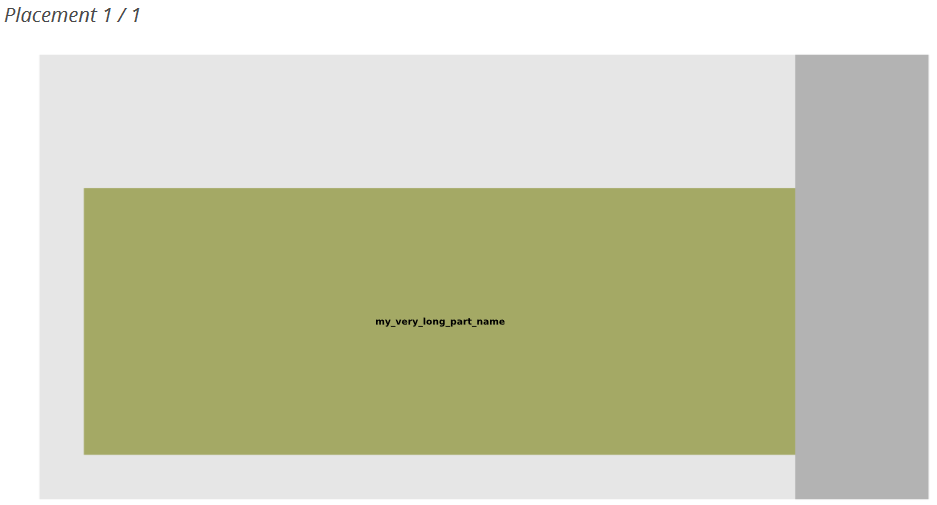
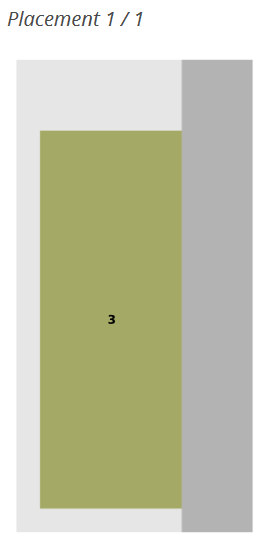
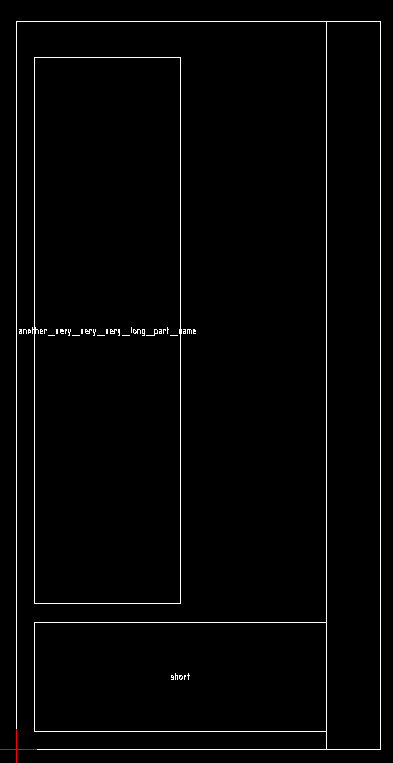
By default, the labels contain the name of the customer file, or if it’s too long Nest&Cut converts it into digits (IDs).
1. Name the customer gave to the label
2. Label converted into digit (ID) by Nest&Cut
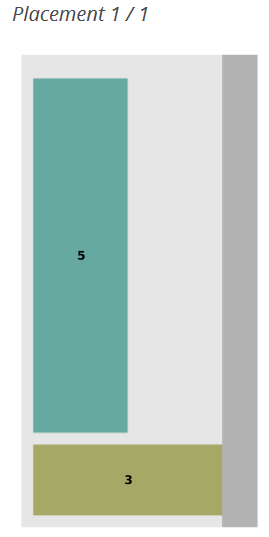
Nest&Cut will always use the part name (if it’s short enough) or digits (ID) for all the parts in each PDF output sheet. Combined with colors, labeling will make it easier for you to identify the same parts.

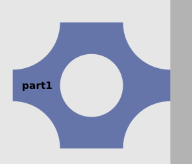
How does that work in the nesting DXF?
To add labels to parts in the nesting DXF, the person responsible must enable the option in the Nest&Cut global parameters.
Once this option is enabled, the part names in the DXF will always be written and never converted into digits (ID).
Why? First of all because unlike the PDF report (usually printed), the operator will easily be able to read them by zooming in on the DXF on their computer.
Secondly, in a DXF file it’s easy to disable the labels option so you can see the parts even if there are a large number of them on the nesting plate. For the operators this quickly makes their results easy to read.
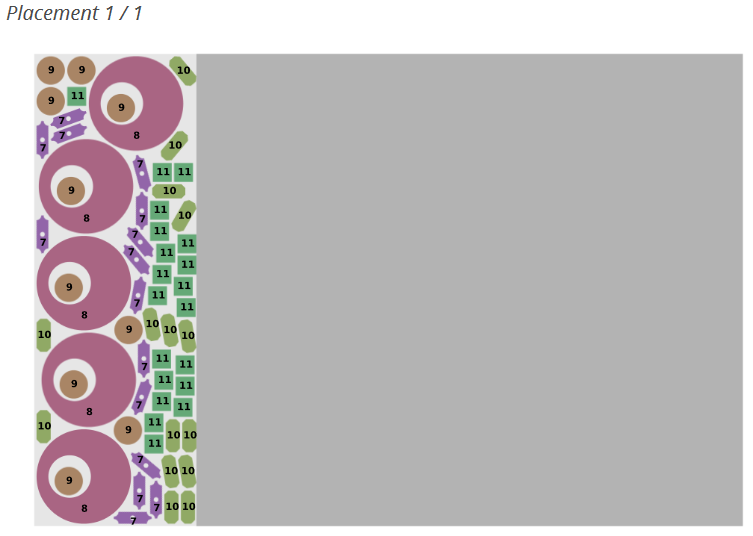
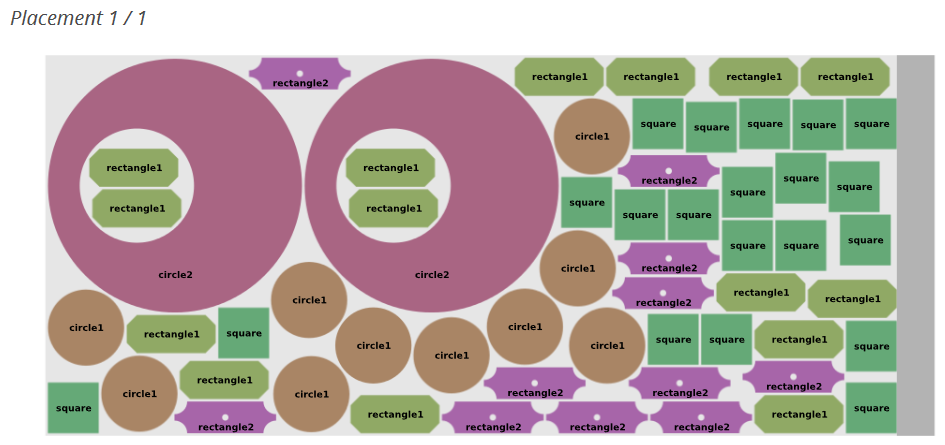
How to position the labels
It may be difficult to find the ideal position for a label on a part. Nest&Cut uses the following sequence of label configurations until it finds the best one:
- Position the part name with a normal size
- Position a digit (ID) with a normal size
- Position a digit (ID) with a reduced size
In all cases, our algorithm always positions the label in the area where there is the most horizontal space (and adapts vertically) for the given size. (See below)
Now that you know everything about part labeling in Nest&Cut, it’s time for you to test and make the most of this functionality!
[Please note that we plan to add a label sheet function to print labels and stick them onto parts. If you’re interested, please contact us so we can develop this function in a way that meets your needs.]